One of the next jobs we could get on and start doing was fitting the gearbox mount. This is a rubber shoe that fits in the little bracket in the middle of the car. Unfortunately its not just a blot on job and needs some modifying in order to fit in the hole.
Tools you may need for this job;
Hack saw
Drill with corresponding drill bits to fit the supplied bolts
measuring tools
Polyurethane sealant (optional)
Steady hands
The gearbox mount is a funny little rubber shoe that needs to be fitted in order to sit and locate the gearbox position. When you buy a gearbox mount unit it will not fit directly into your chassis bracket. This is because it is from a Sierra and still has the old mounting holes drilled. To modify the mount we placed the unit on top of the bracket. The mount did not sit flat with the bracket. Instead the old lugs where balancing themselves on the two opposite chassis cross members that emerge from the bottom of the tunnel.
We marked where the lugs caused interference and cut them off with a hacksaw. This now sat snug.
We then needed to know where the four new holes where going to be placed on the mount. To align this we needed to move the gearbox into position.
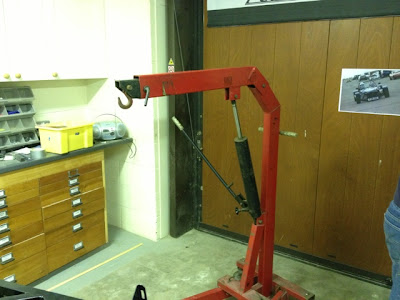
We used our engine crane and some straps to align it up with the prop shaft.
 |
| Getting the Crane ready for lifting |
 |
| Lining the gearbox up with the propshaft |
 |
| Easy does it |
Once the gearbox was in place we bolted it to the prop shaft with the three heavy duty bolts and spring washers. They where tightened all the way up so we knew the gearbox couldn't slide anymore forwards or backwards. Now it was time to mark the holes for the gearbox mount. We slid the mount underneath the bracket and lined it up with the gearbox foot lug (a beveled piece of steel that bolts onto the bottom of the gearbox, shown in the image below). Once here drill points were marked onto the mount and the gearbox was taken out again.
With these points now marked the mount had the four holes drilled and filed out. It was now time to be fitted. The mount was placed underneath the bracket and bolted on using the bolts provided in the kit. Finally Some polyurethane sealant was used around the edges of the mount to seal the unit in place.
 |
| Underside of the car, showing the bottom of the mount poking through |


No comments:
Post a Comment